
Developers
Set up for development
The Developer module adds Git, a code editor, containers, runtimes for every language and Crystal with Cryswol in one step, and makes ~/Work for your projects.
On this page
What it is
The Developer An optional set of tools for one kind of work (development, creative work, gaming, AI) that you add or remove in Settings > Modules. turns WolOS into a workstation for writing software, in one step. It adds A tool that keeps every version of your project's files, so you can go back and share your work. and the GitHub command line, a code editor (Code - OSS), mise (one tool that installs any version of Node, Python, Go, Rust and other languages, per project), A sealed box that runs a program together with everything it needs, so projects cannot disturb each other. that run without administrator rights (podman), A window where you type commands instead of clicking. Super+Return opens one. tools (lazygit, btop, zellij, jq) and a programmer's font. It also adds The programming language WolOS's own apps and tools are written in. It reads like Ruby and runs fast., the language WolOS apps are written in, with The library that lets a program written in Crystal use WolOS: windows, notifications, files and the rest., the library that lets a Crystal program use everything WolOS offers. A module is a bundle WolOS keeps as one unit: added in one step, removed in one step.
Why
Setting up a new computer for programming usually costs a day of installing, configuring and finding out what is missing. A module makes that one tick. The base system stays small for everyone else, because the module is never ticked for you. And because Crystal and Cryswol come with it, the first app you write is a real WolOS app, not a web page in a window.
How
While you install WolOS
On the page "Apps for What You Do", turn on Developer Tools. You see "Code editor, Git, containers and programming languages" under it, and the download size under the list.
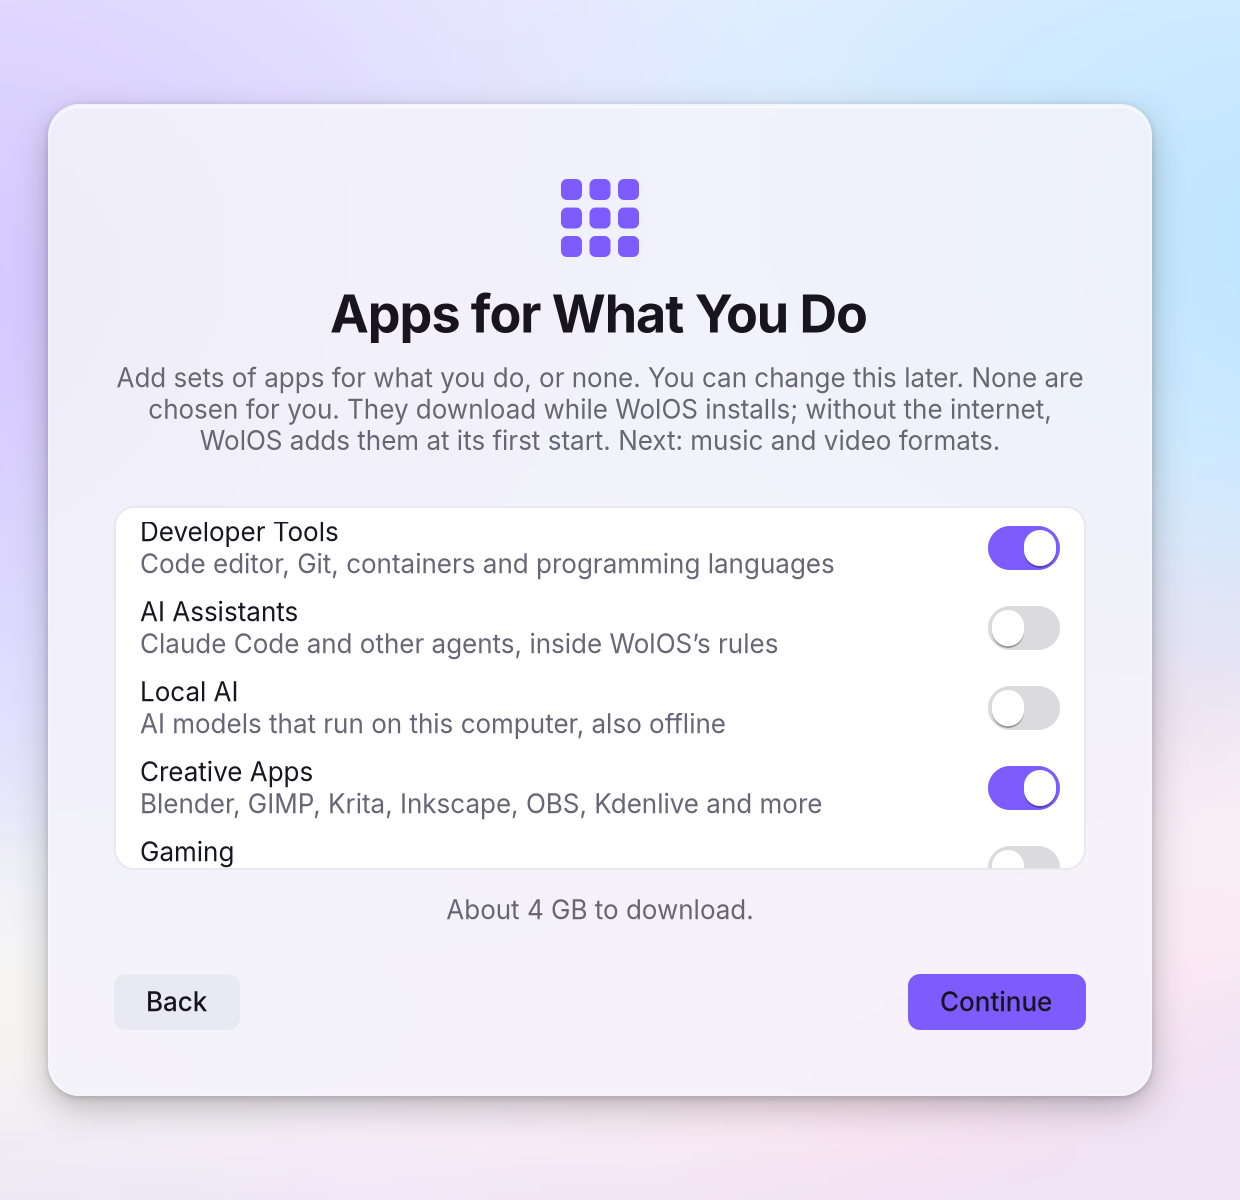
- Finish the install. The module downloads while WolOS installs; without the internet it is added at the first start with a network.
On a WolOS that is already installed
Open Settings > Modules (or type "modules" in the Settings search field) and click Install next to Developer.
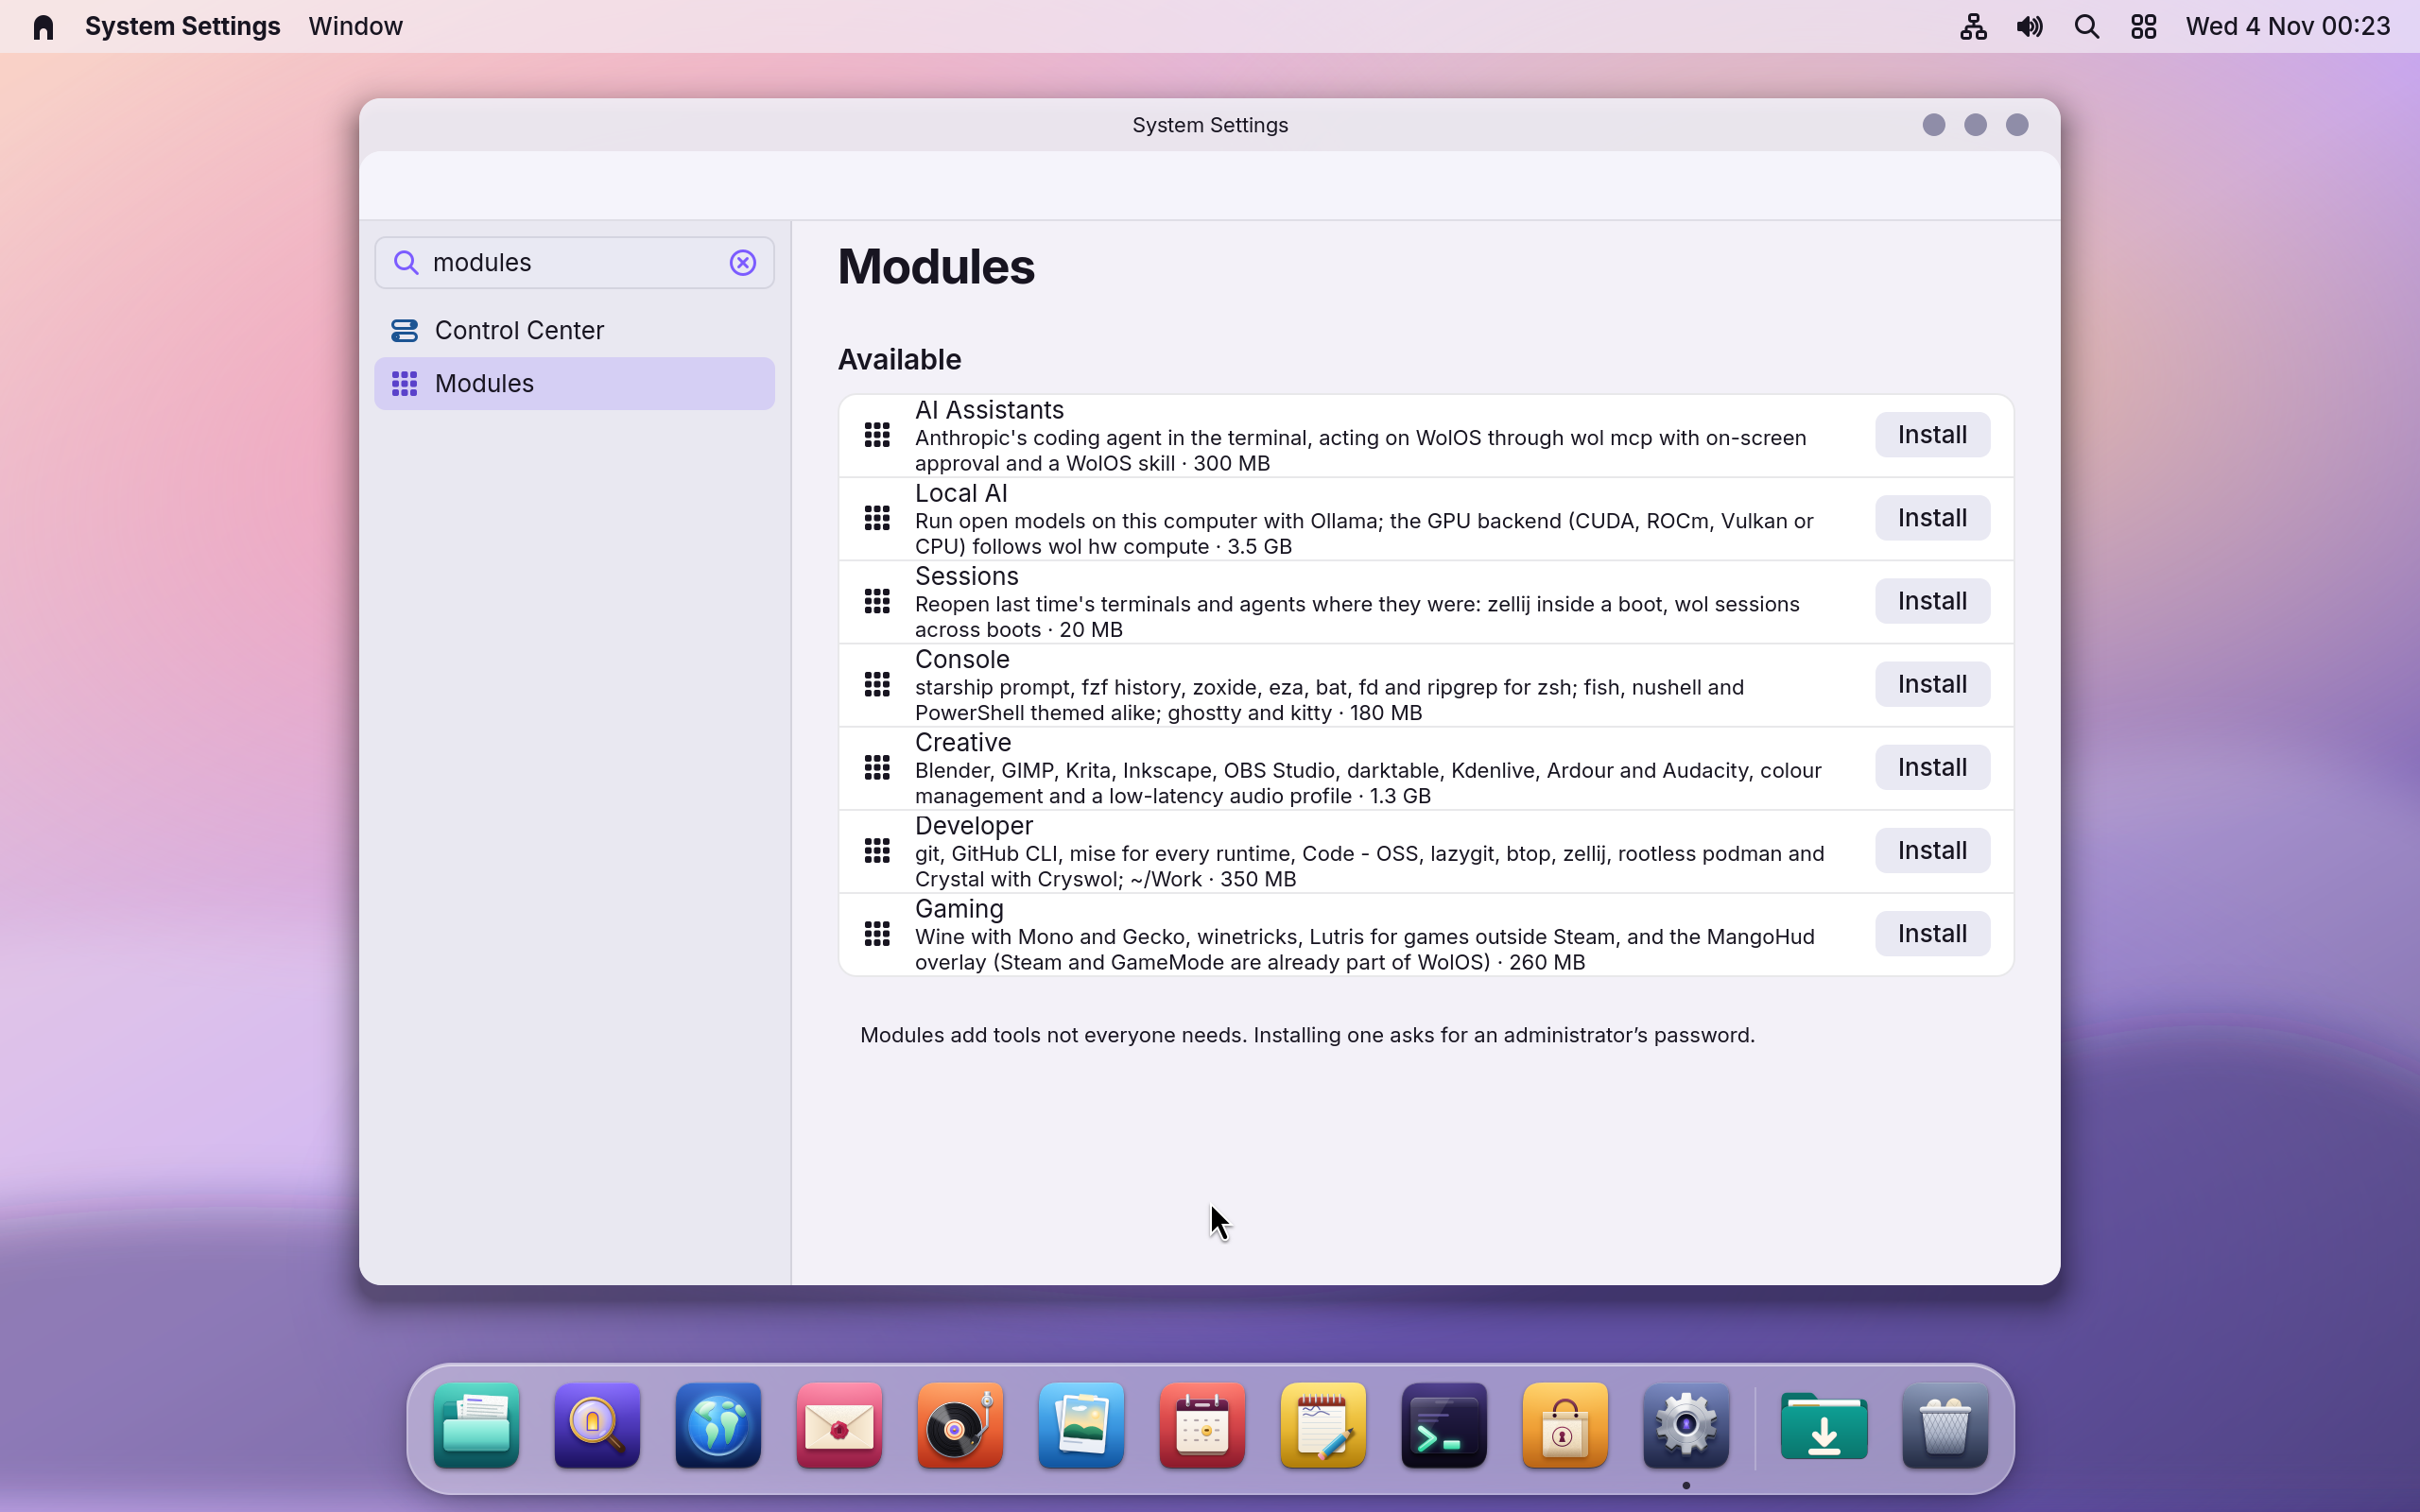
You see a password sheet: adding packages for every account needs an administrator. Type your password and click Allow.
Let it finish. Right after the packages, Settings runs the part that belongs to your own account: it makes the folder
~/Workfor your projects and turns on the container service for you. You see Ready next to Developer. If you see Finish Setup instead (for example when the module was added from a terminal), click it once. It changes nothing when run again.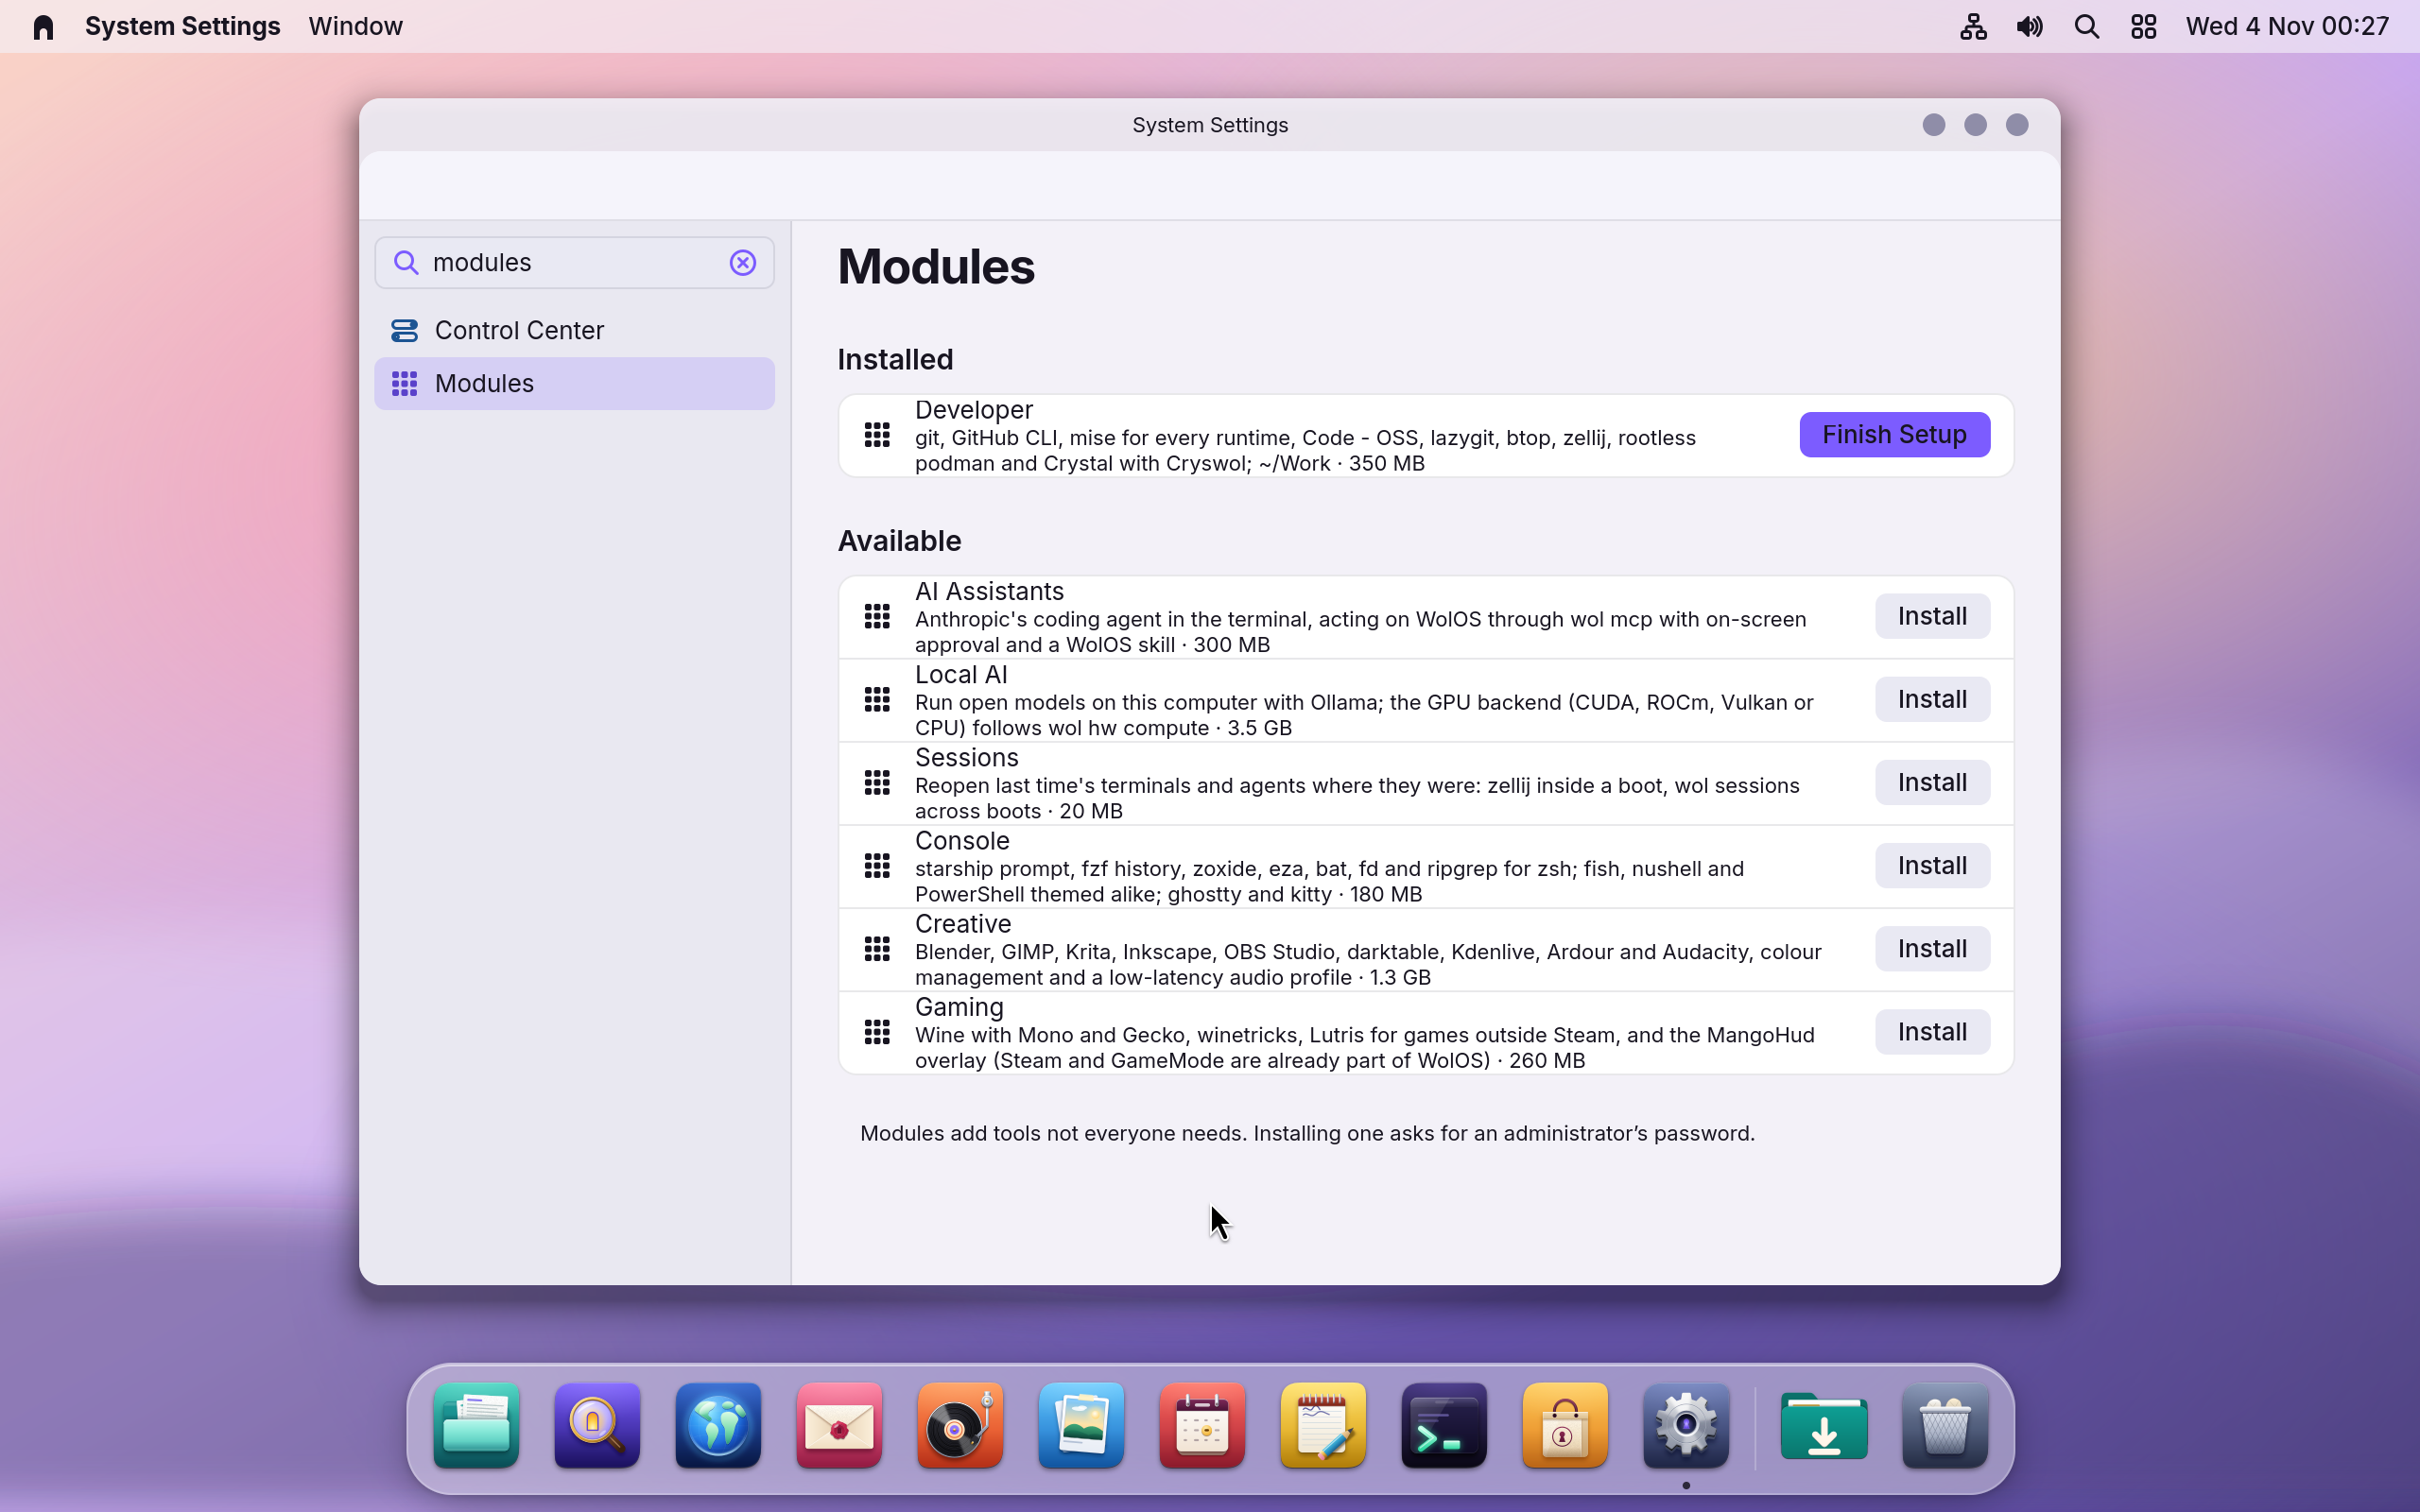
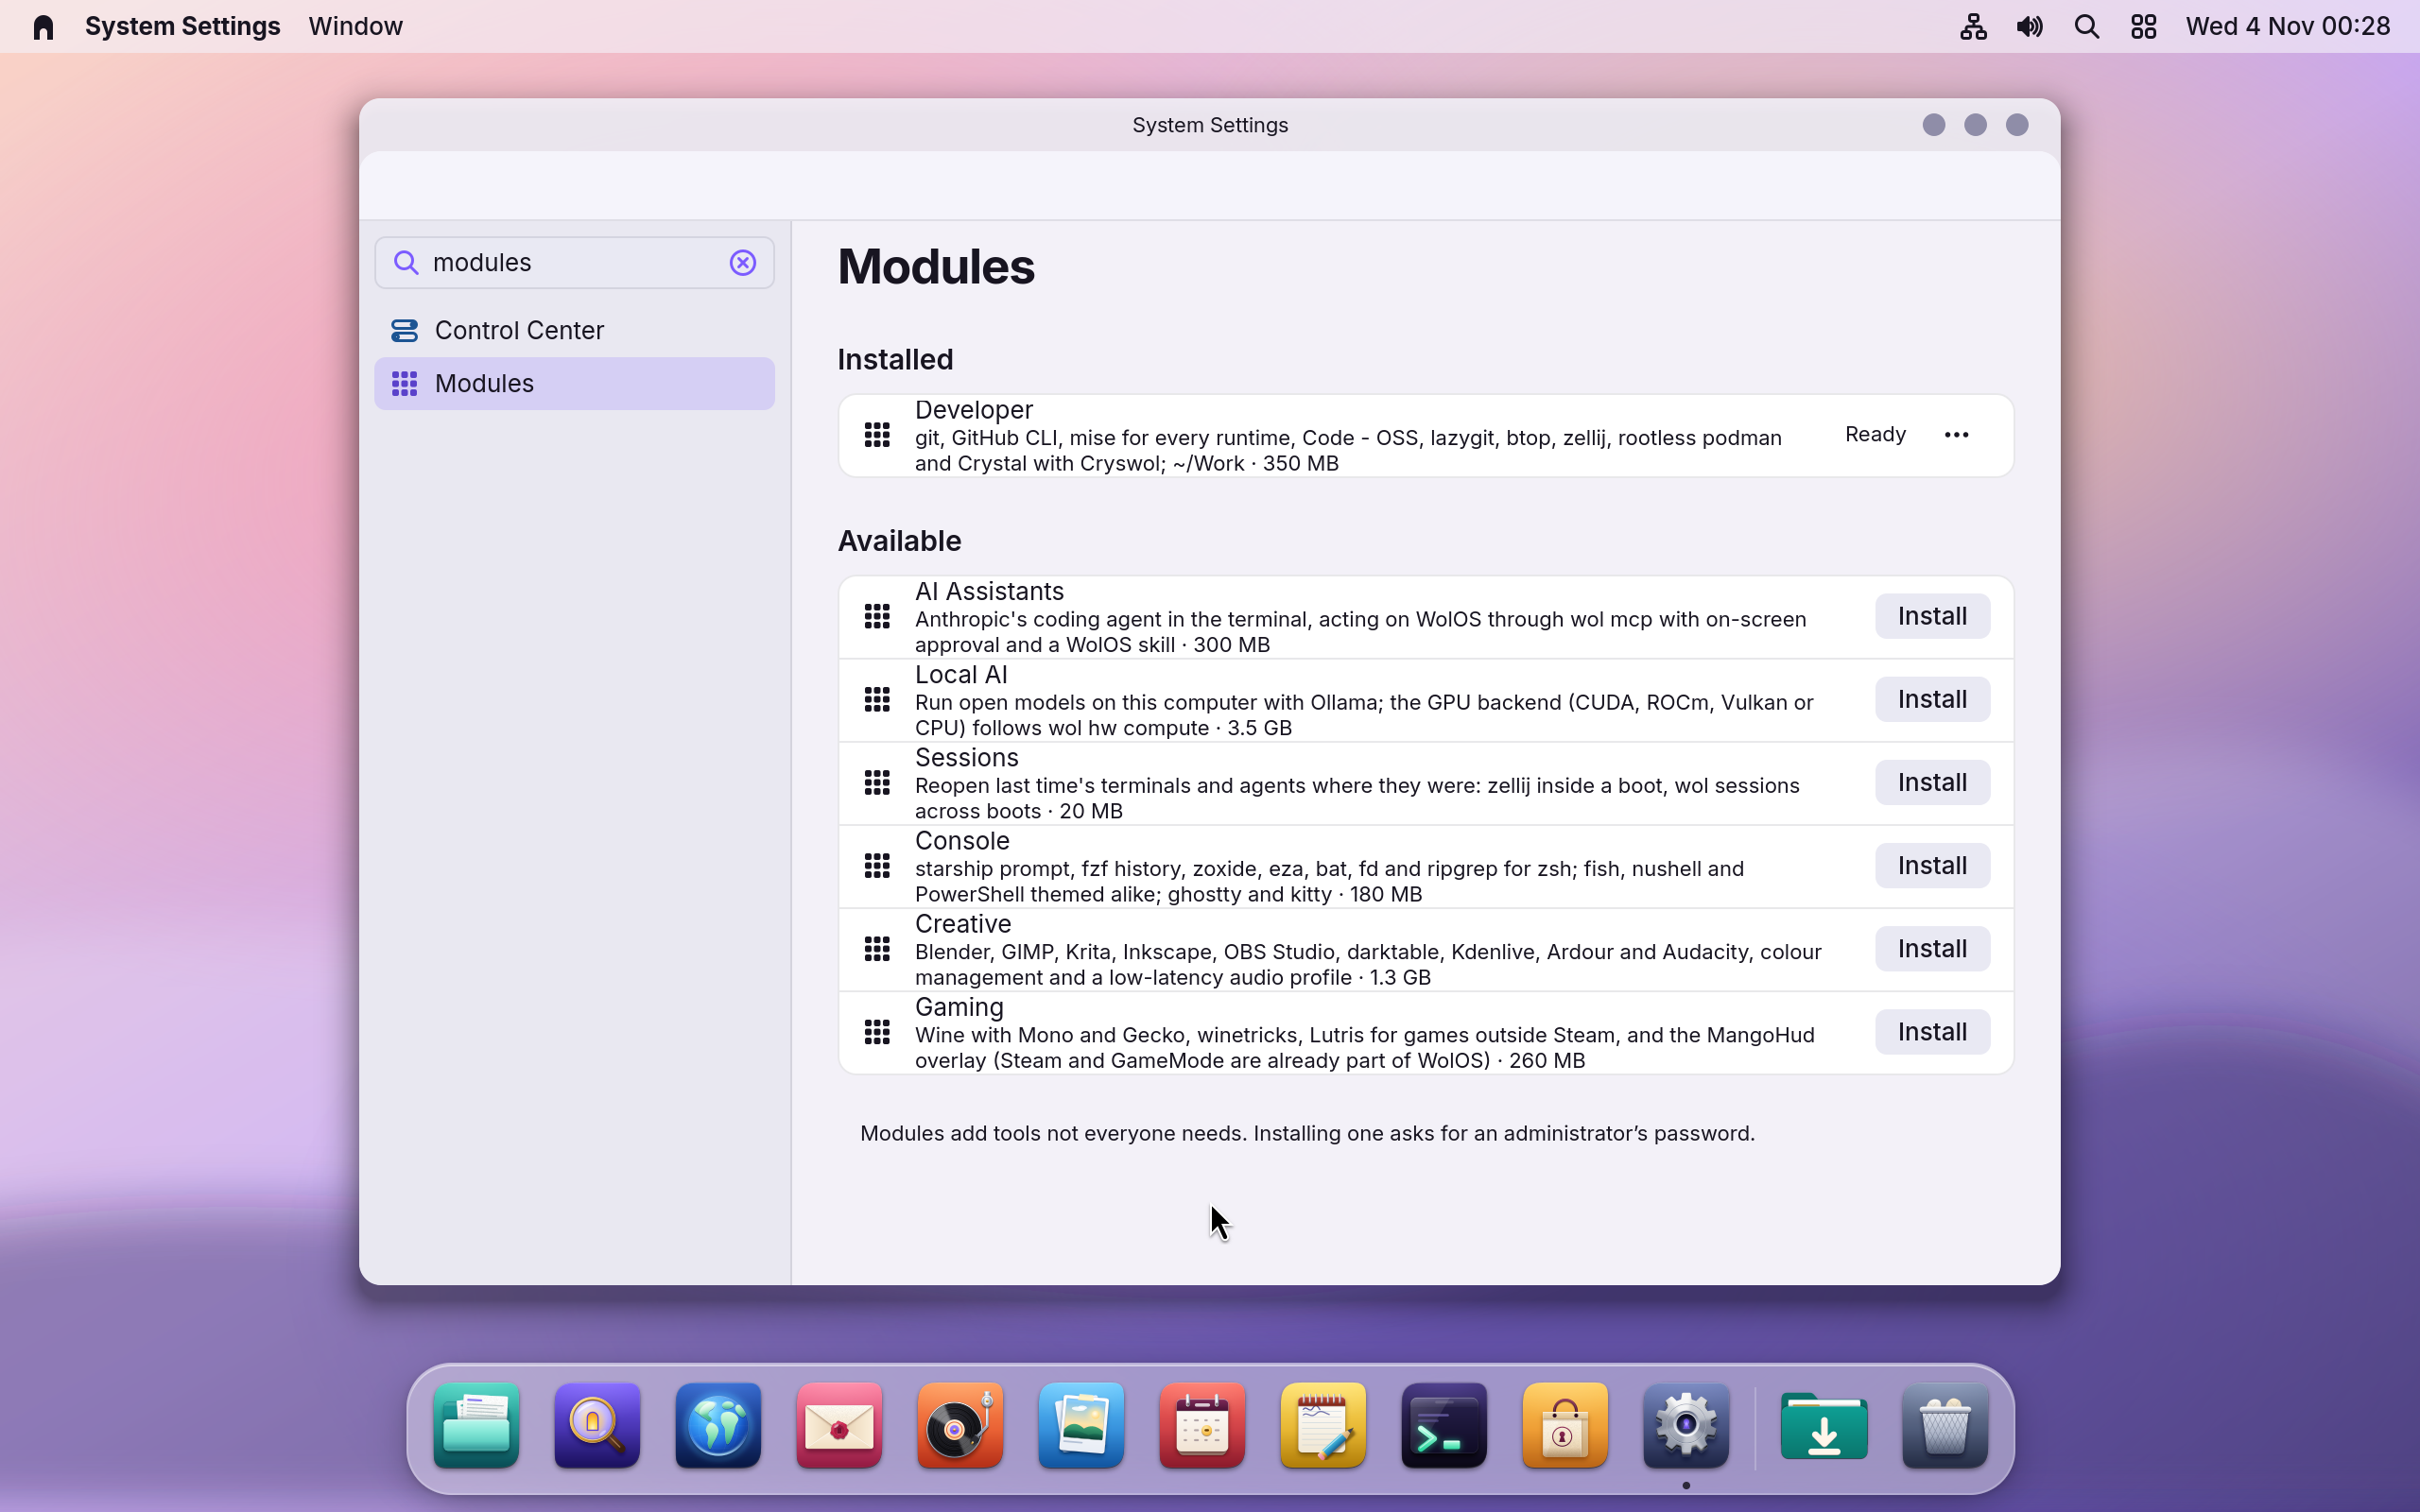
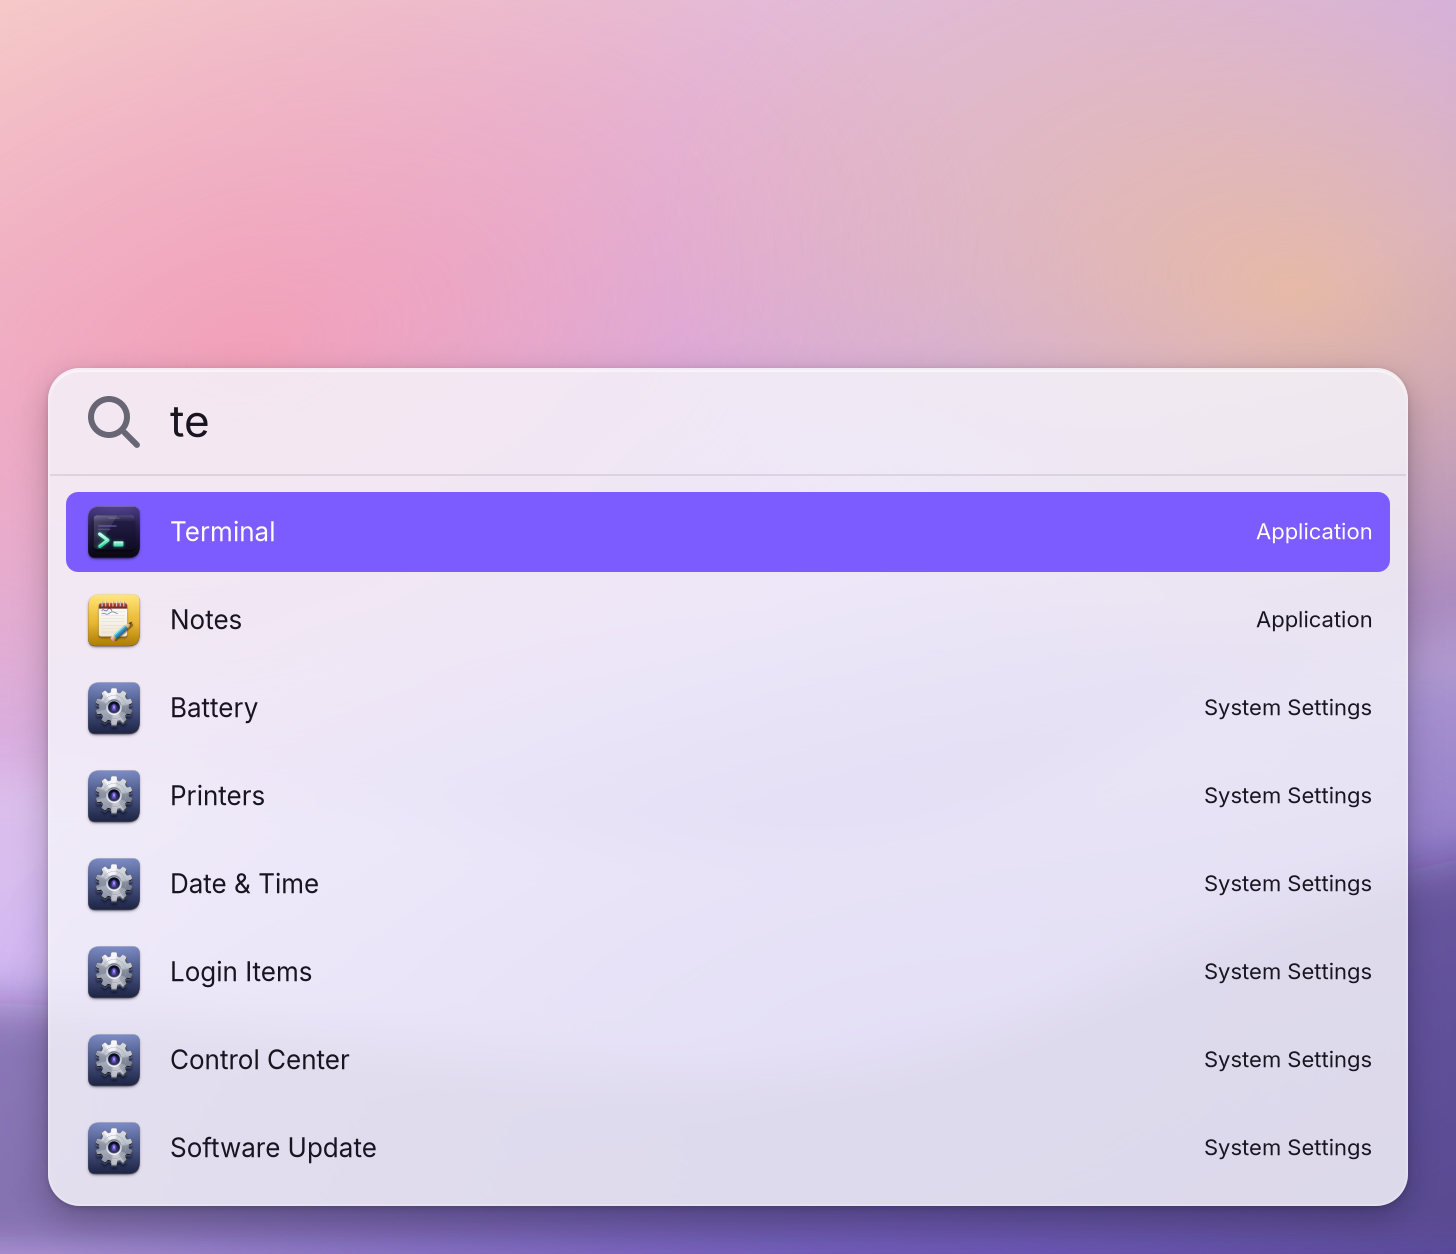
Open Terminal (Super+Space, type
te, Return) and check:crystal --version git --versionYou see both answer with a version number.
In a terminal the same two steps are:
wol modules install dev
wol modules enable dev
More tools from the Store
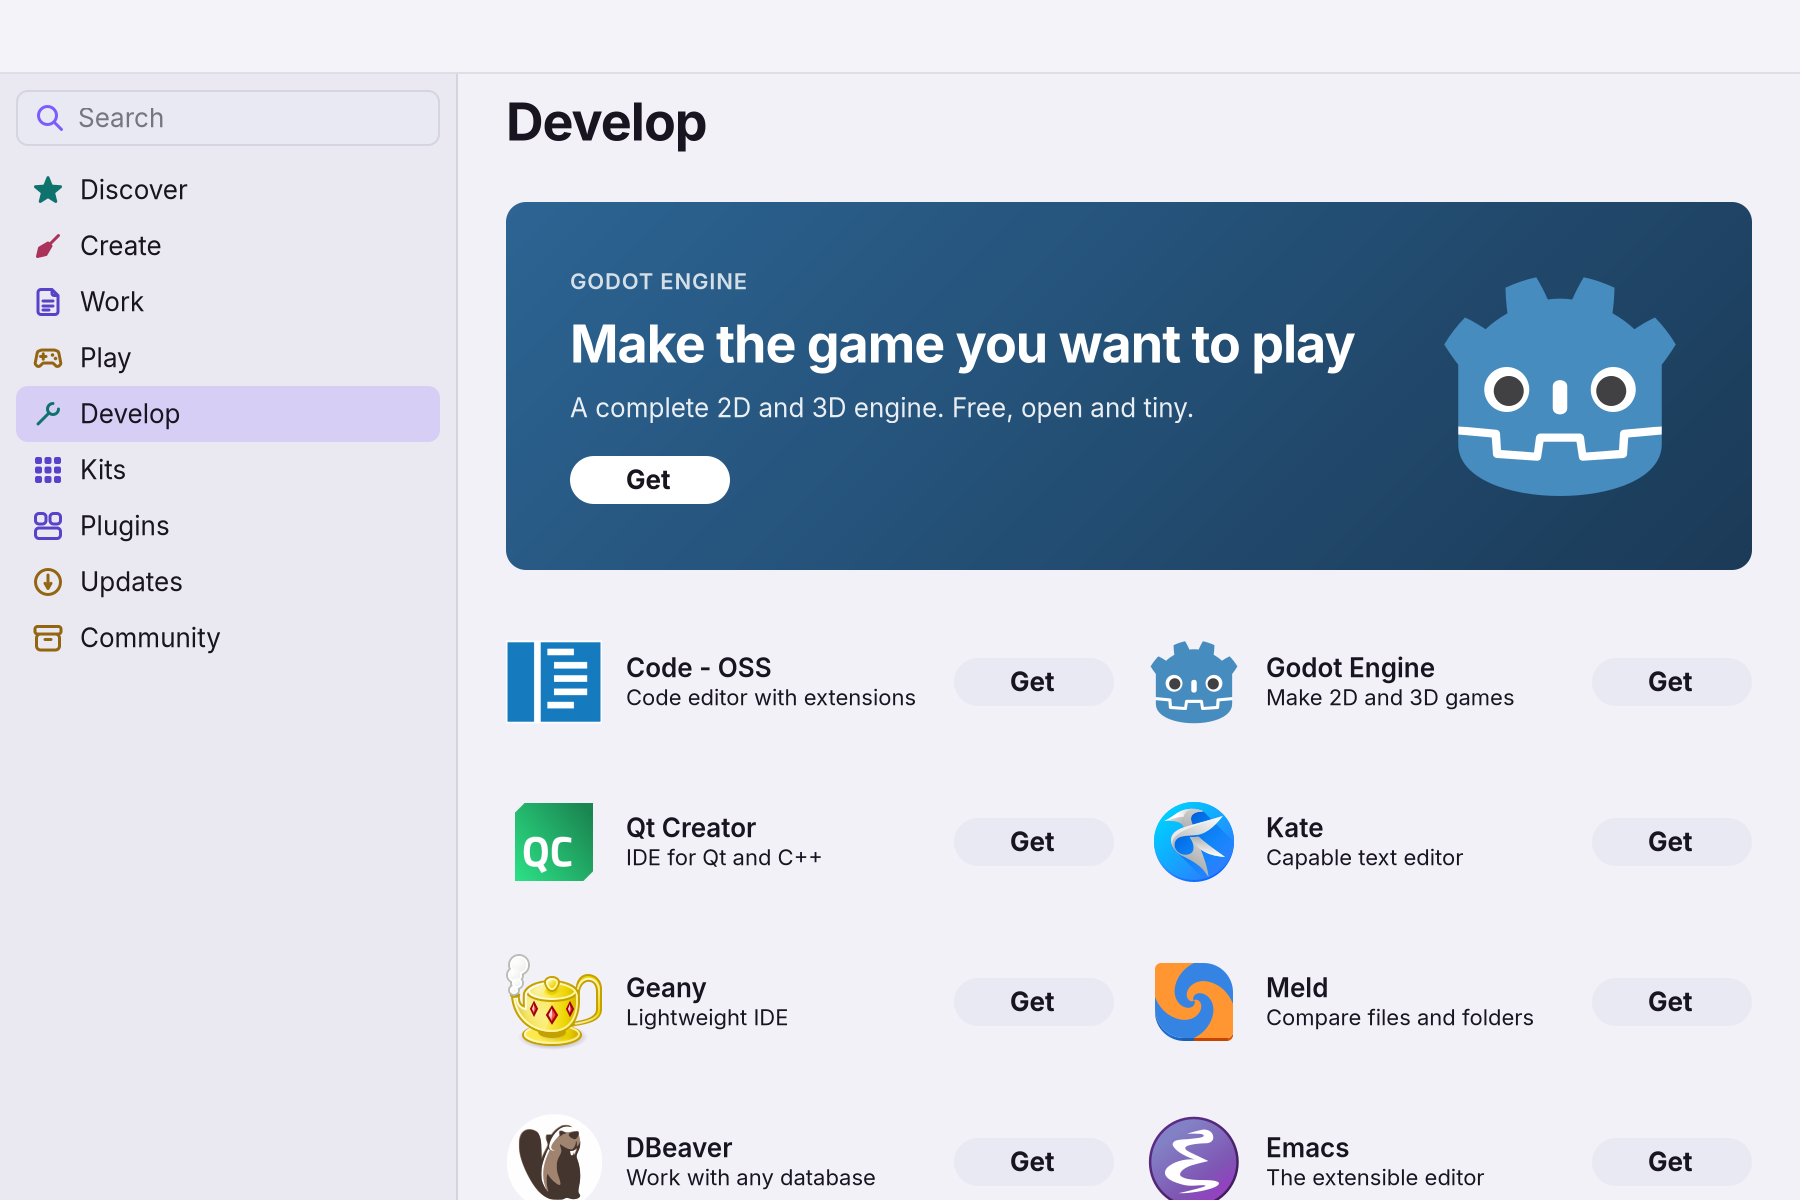
The Store's Develop page has editors, IDEs, database tools and a game engine, each one click.
Languages with mise
mise installs a language per project without touching the system. In a project folder:
mise use node@22
mise use [email protected]
The version is written to the project, so the next person who opens it gets the same one.
A worked example
Alice wants to try a small web project. She opens System Settings > Modules, clicks Install next to Developer Tools and types her password. When the row says Ready, she opens Terminal, types crystal --version and git --version and sees both answer with a version number. Her projects go in the new Work folder, and she opens them in the code editor. Her laptop was ready for programming in the time it took to make tea.
If something goes wrong
| What you see | What to do |
|---|---|
| The password sheet says "Incorrect password. Try again." although the password is right | A known problem in 0.12.0. In Terminal run sudo /usr/lib/wolos/modules-install dev (it asks for the same password), then click Finish Setup in Settings > Modules. |
crystal: command not found | The module is not installed yet. Settings > Modules > Developer > Install, or wol modules install dev. |
| Developer is under Could Not Be Added | It could not be downloaded after several tries. Check that you're online and click Retry. |
| Finish Setup stays | The user step stopped. Run wol modules enable dev in Terminal: it says which step failed. |
| A container tool says it cannot reach the Docker socket | Run wol modules enable dev again; it turns on the container service for your account. |
| You want the space back | Settings > Modules, click … next to Developer and remove it, or wol modules remove dev. ~/Work and your files stay. |
Related
Your first app in Crystal · The terminal and the wol command · Cryswol · Modules
Related
- Modules: tools for what you doDeveloper tools, AI assistants, creative apps, games and a richer terminal, each added in one step from Settings > Modules and removed in one step.
- Your first app in CrystalWrite, build and run a small WolOS app in Crystal with Cryswol: it reads the system, tries to post a notification, and handles a refusal the way every app must.
- Cryswol and Wolkit: apps made for WolOSWhat Cryswol, Wolkit and Crystal are, how they fit together, where to start, and where the complete developer documentation lives.
- Your first Ruby scriptWrite a small Ruby script in a text editor, check it with wol script check, run it with wol script run, and see what WolOS asks before a script changes anything.
- Developers