
Start here
Getting started
What WolOS is, what you need, and the way from the download to your own desktop, in five steps.
On this page
What it is
WolOS is an operating system for the PC you already own: the program that starts when you switch the computer on and that every other app runs on, the way Windows or macOS does on other computers. You get a desktop with a at the top and a The row of app icons at the bottom of the screen. Click an icon to open the app; a dot under it means the app is running. at the bottom, a Store for apps, System Settings for everything you can change, and your own files in your Your own folder, with Documents, Downloads, Pictures and the rest. Every account has one. In a terminal its short name is ~ (tilde).. Nothing about it needs a A window where you type commands instead of clicking. Super+Return opens one.: every everyday task has a window, a button and a picture in this manual.
You can try it before you decide. WolOS runs from a A small plug-in drive. Writing WolOS onto one erases what it held. without touching the computer's disk, so you can see whether your Wi-Fi, screen and sound work, and then install it on its own or next to Windows.
Why WolOS does it this way
You sat down to write, play, draw or talk to someone, not to look after a computer. So WolOS is built to stay out of the way: it starts quickly, it does not change a setting without asking you, and it keeps a second copy of itself for every update, so a bad update is undone by starting the computer again. The things that take a technical person an afternoon on other systems (codecs for music and video, the tools for games or programming) are one switch in the installer or one click in the Store.
What you need
| You need | Why |
|---|---|
| A 64-bit PC from roughly the last ten years | WolOS starts through The modern kind of firmware every recent PC has. WolOS needs it to start., which every such PC has. |
| 16 GB of free disk space or more | The installer refuses a smaller disk. More is better: your files go here too. |
| A USB stick of 4 GB or more | WolOS is copied onto it. Everything that was on the stick is erased. |
| About half an hour | Most of it is waiting while the stick is written and WolOS installs. |
| Your Windows recovery key, if you keep Windows with Windows's own disk encryption. Have its recovery key at hand before you change anything at start-up. | Windows may ask for it once after the install. |
How
The way from the download to your own desktop has five steps. Each one links to the page that explains it in full.
Download WolOS. Open the Download page and click the download button. You get one file whose name ends in
.iso(an The one file you download to install WolOS. You write it to a USB stick, or give it to a virtual machine.), about 2 GB. The Download page also shows the file's A long code computed from a file. If your copy gives the same code as the Download page, the file arrived complete and unchanged.. Comparing it is optional; it proves the file arrived complete. On Windows, open PowerShell in your Downloads folder and run the one command of this page, then compare the long code it prints with the one on the Download page:Get-FileHash wolos-*.isoWrite the stick. Use an image writer: balenaEtcher (Windows, macOS, Linux) or Rufus (Windows; choose DD Image mode when it asks). Choose the
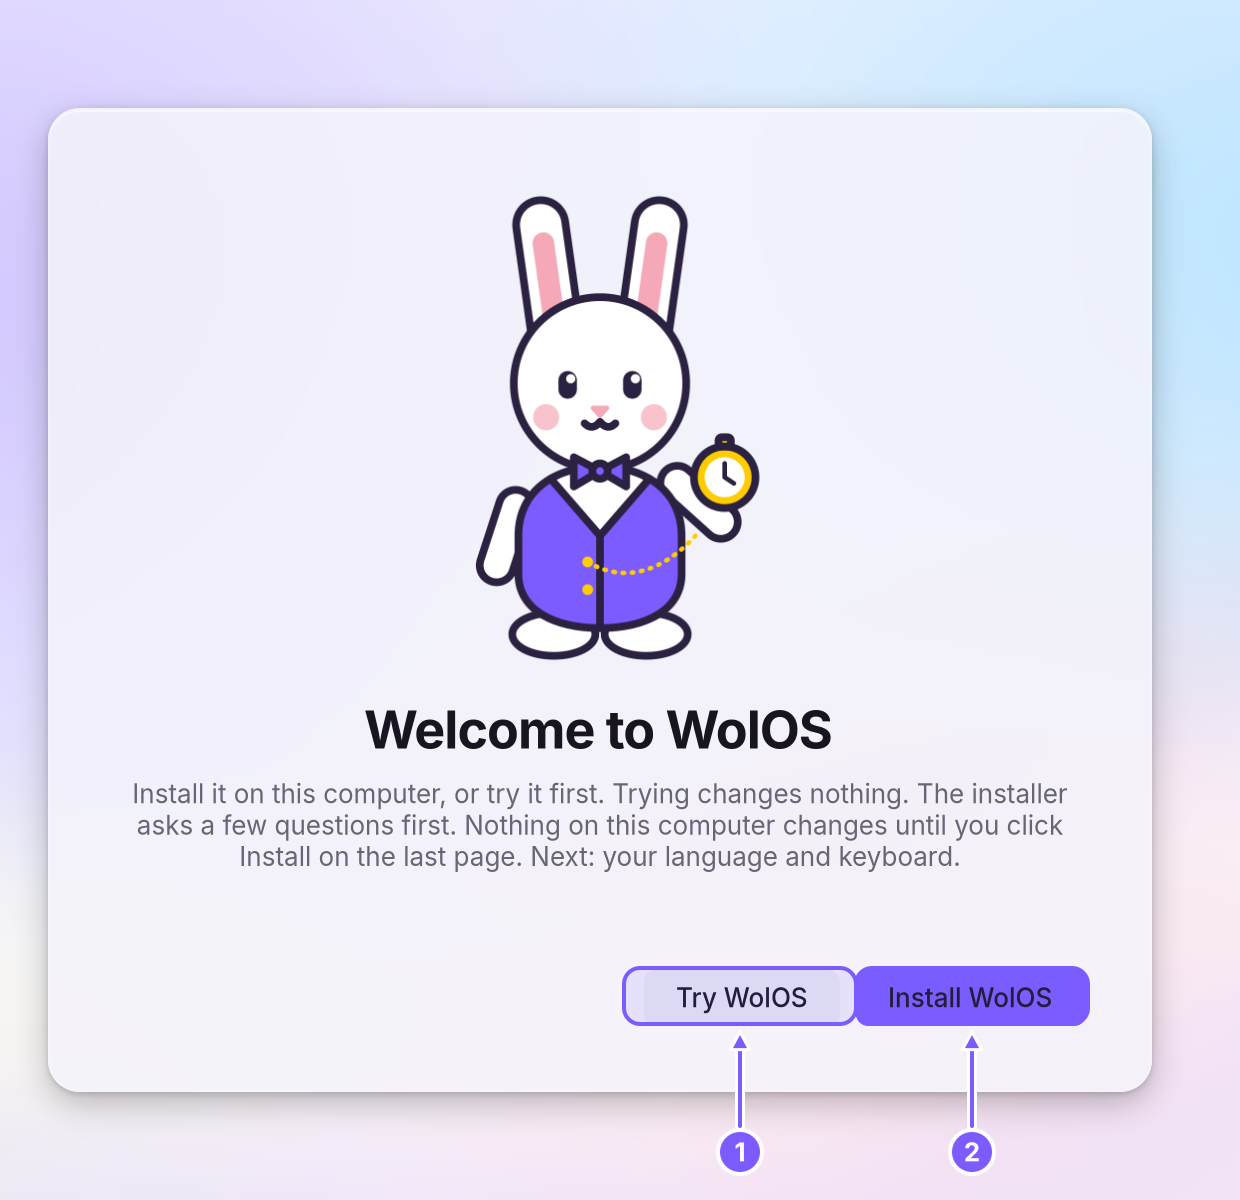
.isofile, choose the stick, and start. When the writer says it is done, the stick is ready.Start the computer from the stick. Plug the stick in, switch the computer on and, right away, press the key that opens the : often F12, F11, F8 or Esc (the computer usually shows which for a second). Pick the entry with the stick's name; on some computers it starts with UEFI. You see the WolOS welcome page with two buttons. Try WolOS (1) runs the whole desktop from the stick and changes nothing on the computer. Install WolOS (2) starts the installer.
If the computer has A check built into the computer that starts only signed software. WolOS can use it with keys made for this computer only. switched on, it may show a blue screen before the welcome page. That screen comes from the computer, not from WolOS, and appears once; Secure Boot walks you through it.
Install. Click Install WolOS and answer the installer's questions: language, time zone, which disk, whether to keep Windows, a password for the disk, your account. Every page says in plain words what will happen, and nothing on the disk changes until you click Install on the last page, a summary of every change. Installing WolOS shows every page, and Installing next to Windows has the extra steps for keeping Windows.
Start WolOS. When the installer says WolOS Is Installed, click Restart and take the stick out when the screen goes dark. The computer starts WolOS and shows the login window with your account. Your first day continues from there.
A worked example
Alice has a three-year-old laptop with Windows on it and wants to try WolOS without losing Windows.
She downloads the ISO on the laptop, writes it to a 16 GB stick with balenaEtcher and restarts with the stick in, pressing F12 until the boot menu appears. She picks the stick and clicks Try WolOS. In Control Center she joins her Wi-Fi, plays a video in the browser to hear the speakers, and closes the lid to check that the laptop sleeps and wakes. All of it works, so she restarts, clicks Install WolOS, chooses Install Alongside Windows and gives WolOS half of the disk. Twenty minutes later the laptop shows a short list at every start: WolOS or Windows.
If something goes wrong
| What you see | What it means and what to do |
|---|---|
| The computer starts Windows as if the stick were not there | The boot menu key was pressed too late, or the stick is not in the list. Restart and press the key several times as soon as the screen lights up. If the stick is not listed, write it again; some writers need their DD or "image" mode. |
| The boot menu lists the stick twice | Pick the entry that starts with UEFI. |
| A blue screen says "Verification failed" | That is the computer's Secure Boot check. Press Enter and follow Secure Boot, or switch Secure Boot off in the computer's settings for the first start. |
| The welcome page never appears and the screen stays black | Wait a minute: the first start from a slow stick takes longer. If it stays black, try another USB port, preferably one directly on the computer. |
| The installer finds no disk | Click Look Again after connecting the disk. Installing WolOS explains what the installer never offers. |
| The virtual machine shows a black screen after the install | Check its display settings against the Download page. |
| Anything else after the install | Recovery lists every way back, from undoing a setting to starting the previous version of WolOS. |
Related
- Installing WolOSErase a disk, share it with Windows or Linux, or lay out partitions by hand. Nothing is written before you confirm the summary.
- Secure BootAn option in the installer. Every computer makes its own start-up keys; at most one blue key screen, once, with the password boot.
- Your first daySign in for the first time, finish the setup, and spend ten minutes making WolOS yours: Wi-Fi, updates, looks and your first apps.
- Recovery: when something does not startThe disk will not unlock, an update went wrong, a screen stays black, or a setting broke the desktop. What WolOS does on its own and what you can do.
- Installing next to Windows or LinuxShare a disk: your other system keeps its files, gets smaller, and you pick one at start. What to do first, and what to do when the installer refuses.